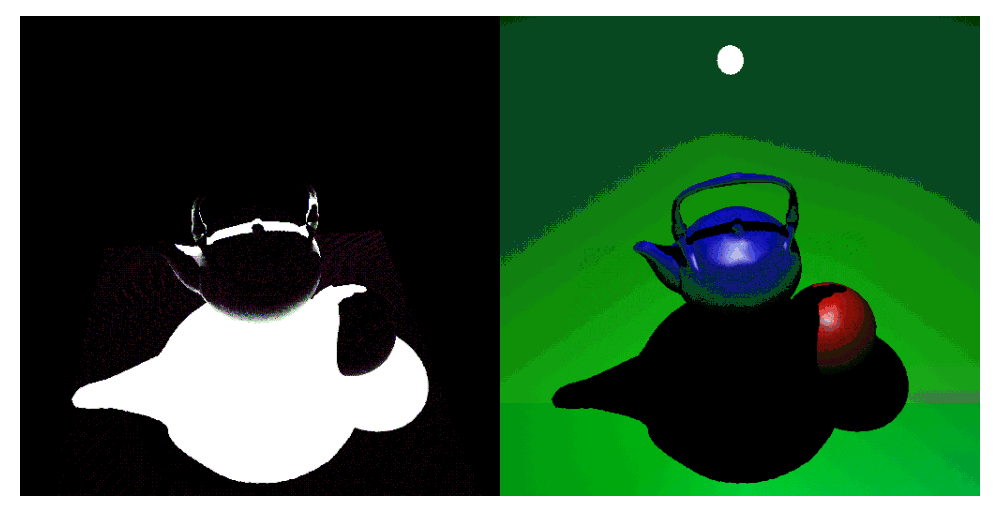
Figure 11:
Shadow mask and resulting image.
Back to Article