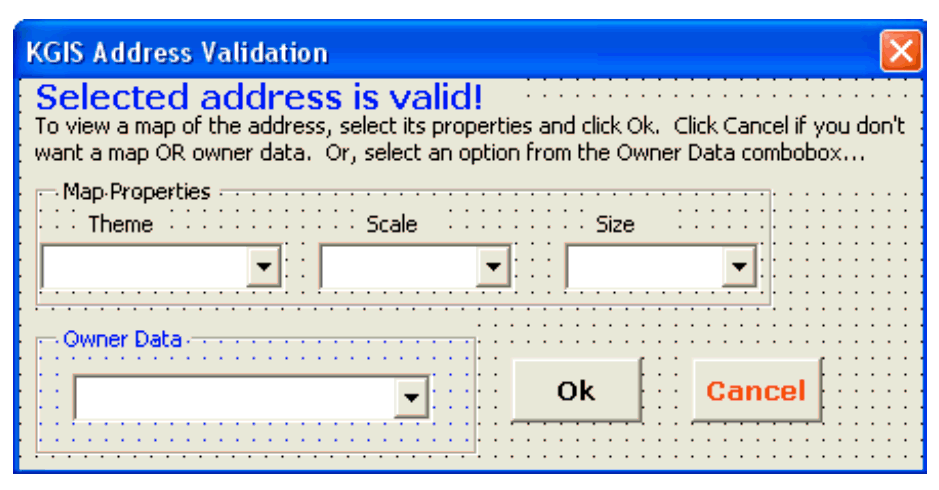
Figure 4:
Selecting the map properties.
Back to Article