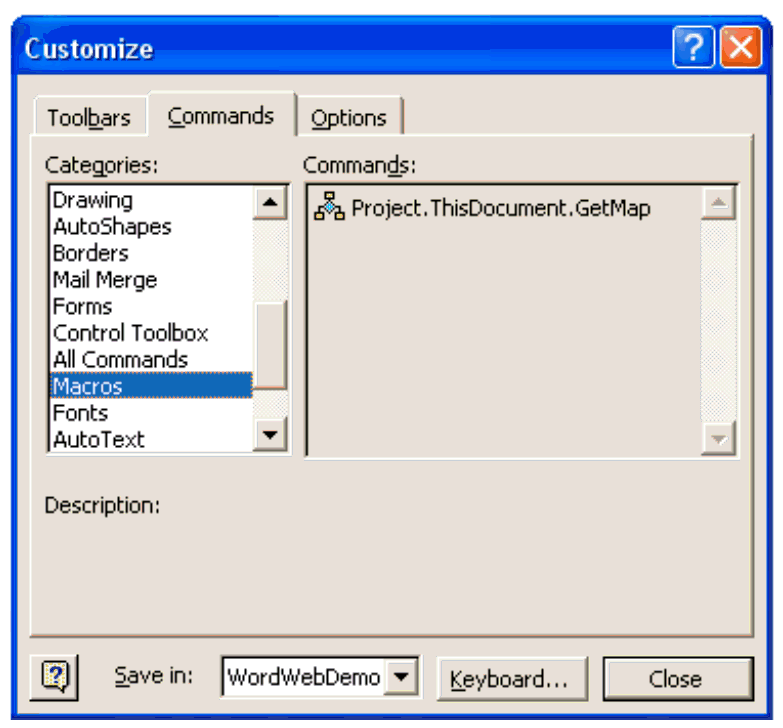
Figure 3:
Adding the macro.
Back to Article