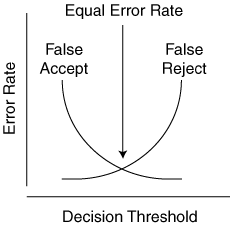
Figure 2: The false accept/false reject curves.
Back to Article